Configure Remote Printing Using Client Certificates
To configure a remote site for printing you have to follow these steps:
- Configure the main site
- Add the remote printer to PLOSSYS Output Engine
- Install the remote site client
Configure the Main Site
As an alternative to API Keys the remote sites can authenticate themselves against the main site with client certificates.
When issuing a client certificate for a remote site, the name of the remote site has to be used as the CN.
-
Open a Command Prompt or PowerShell.
-
Export the complete configuration of PLOSSYS Output Engine from Consul to a YAML file with the following command. So you're making sure current configuration settings are being used.
plossys config export <filename>.yml --insecure -
Edit the exported file
<filename>.yml. -
In the
envsection, specify the following mandatory keys for themainland-checkoutservice:-
AUTH_TYPE:cert, default:apiKey -
CACERT: File name with full path of the certificate of the certification authority (CA) that issued the client certificates or the certificate content
Hint - adding a service section
If the section for the mainland-checkout service does not exist yet, you have to create it:
service: mainland-checkout: tag: any: AUTH_TYPE: cert CACERT: c:\full\path\and\filename\of\the\certificate.pem -
-
Save the
<filename>.ymlfile. -
Re-import it to Consul.
plossys config import <filename>.yml --insecure -
Continue with Add the Remote Printer
Add the Remote Printer
Creating a remote site printer is basically the same as creating a main site printer. The only difference is an additional key remoteSite.
-
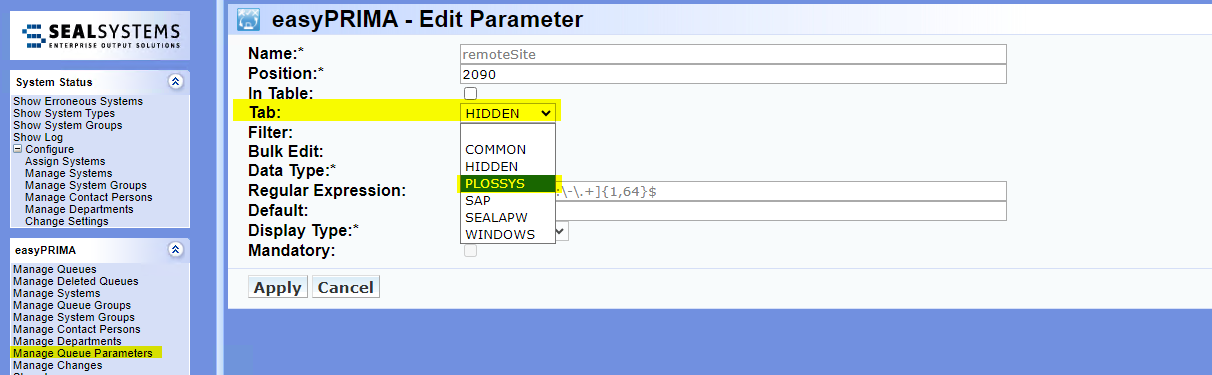
Move the queue parameter
remoteSitefrom theHIDDENto thePLOSSYStab.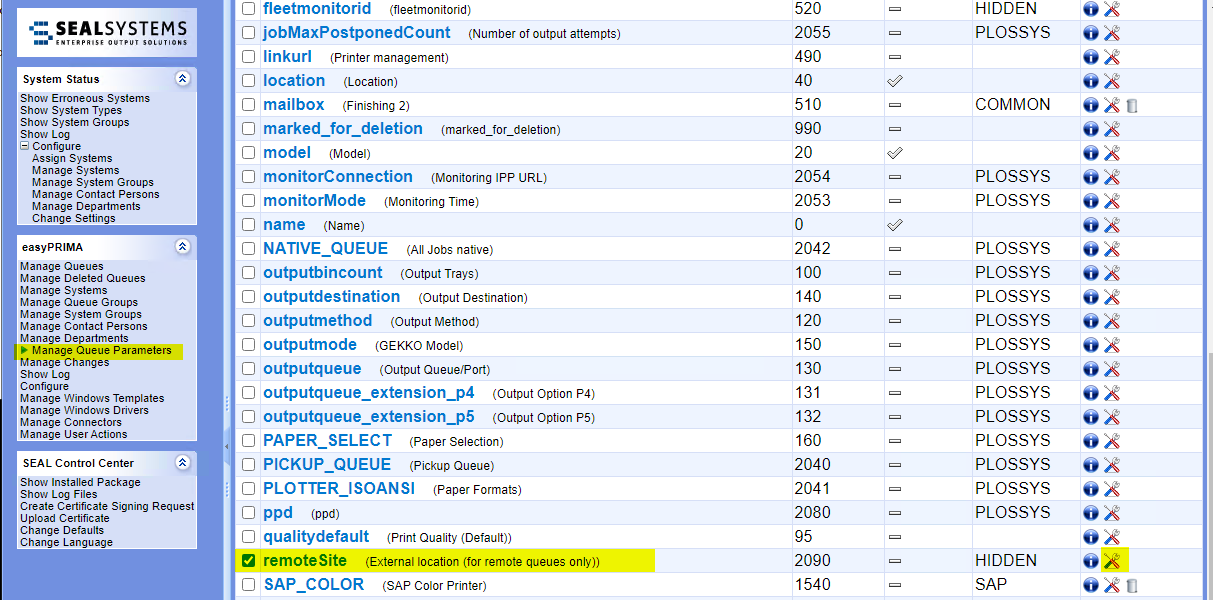
Literature - easyPRIMA documentation
As of version 1.10.1, easyPRIMA comes with a preconfigured
remoteSiteparameter for queues as described above. If you use an older version of easyPRIMA, add the parameter manually. For more information, refer to easyPRIMA, System Description, Chapter 12 Queue Data, Add Customer-Specific Parameters. -
Create a queue for the remote printer in easyPRIMA.
-
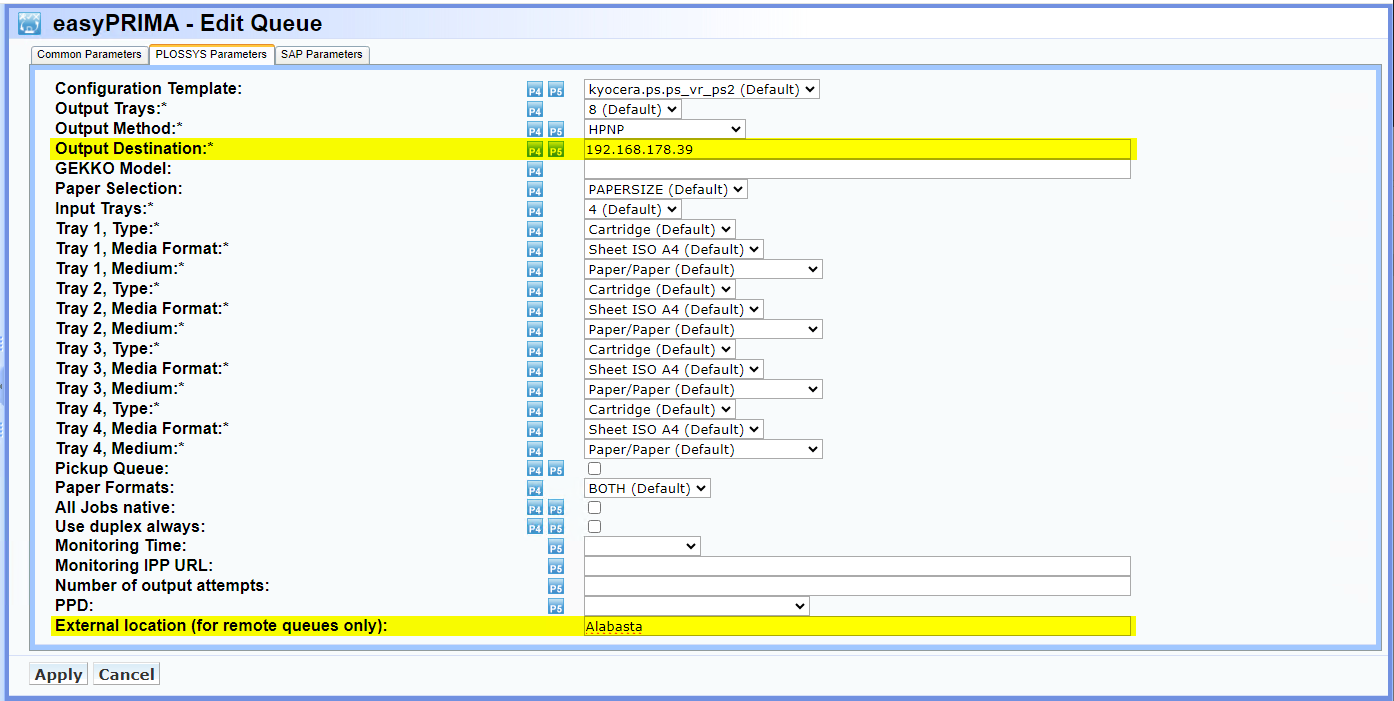
In the
PLOSSYS Parameterstab, set the following parameters:Output Destination: IP address of the remote printer, for example192.168.178.39External location (for remote queues only): name of the remote site, for exampleAlabasta
Hint - no typos
The name of the remote site has to be exactly the same as used to create the API keys and as specified in the mainland configuration.
-
Confirm with
Apply. -
Export the data to PLOSSYS Output Engine.
-
Continue with Install the Remote Site Client.


Install the Remote Site Client
The remote site installer provides the seal-island-checkout service and writes the connection details to the registry.
-
If authentication via client certificates is configured at the main site, the remote site needs a client certificate. When issuing a client certificate for a remote site, the name of the remote site has to be used as
CN. -
On the remote site the client certificate and the private key have to be provided via environment variables:
CLIENT_CERT: File name with full path of the client certificate or the certificate contentCLIENT_KEY: File name with full path of the private key belonging to the client certificate or the key content
-
Download the installation file for the
seal-island-checkoutfrom the SEAL Systems delivery platform onto the remote site client. -
Start the client installation.
-
Enter the connection data:
API Key: leave blankIV: leave blankSecret: leave blankUrls: URL of the Output Engine system, accessible from the outsideRemote Site: name of the remote site as used in the certificate asCN
-
To test the connection, click
Open Monitorafter the installation is finished or callhttps://localhost:3002in your browser.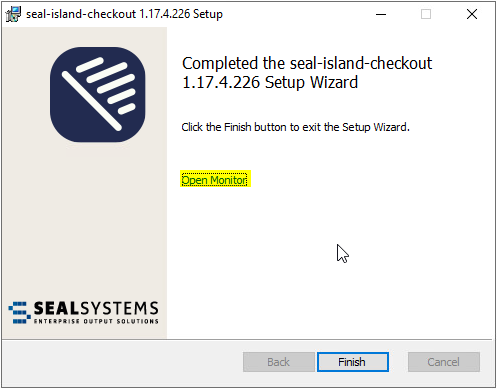
Modify the Remote Site Configuration
-
Execute the installer for the
seal-island-checkoutagain. -
Select
Repair.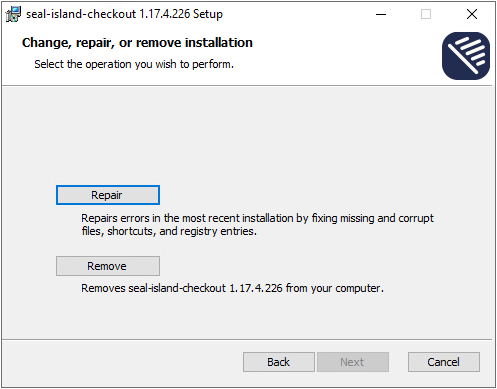
Hint - Windows client
When changing the
seal-island-checkouton a Windows client using theRepairoption, default values will be written into the registry instead of the changed data. To prevent that issue, uninstall the current client first, then install anew.Hint - no support
SEAL Systems does not provide any support to distribute or manage these client certificates.
Delete a Remote Site
There are several ways how to delete a remote site:
-
Uninstall the
seal-island-checkoutat the client. -
Delete the certificates or the environment variables
CLIENT_CERTandCLIENT_KEYat the client. -
Delete the remote printer in easyPRIMA or change its
remoteSiteparameter.